
FREE Valentine Printable for Play-Doh Attachment
- Mama Catherine

- Feb 11, 2021
- 2 min read
My children LOVE Valentine's Day! Getting all that happy mail, and some that even come with surprise little treats... what's not to love? I remember how excited they were when they received Play-Doh, which is now my 'go-to treat' for holidays for two reasons:
Children love it.
It's extremely economical.
As moms, we all know that trying to find something fun, that's economical (we're talking multiple children in classes of 20+) can be challenging. I also like giving something that is going to be used - rather than that little toy or plastic game that will ultimately end up in a landfill a short while later. Edible treats were typically my go-to, but with so many dietary restrictions in schools nowadays, I no longer go that route.
For the little ones, Play-Doh is always a slam dunk. But once the kids get into primary grades it can be a bit more challenging. If you're looking for a cute idea for the older ones, head over to my FREE Valentine Printable with Pen or Pencil Attachment.
When it comes to design, I prefer simplicity as to not overwhelm the eye. I also like to be mindful of solid colours when creating my templates, in an effort to keep ink costs low. There's nothing like getting halfway through your print job and receiving the dreaded "ink low" warning. And as most mamas can relate, this typically ALWAYS occurs after hours when the stores are now closed (and the night before you need them completed).


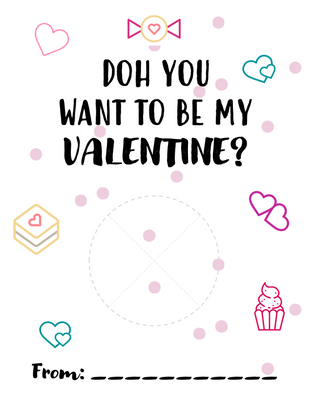


So low and behold, a fun FREE valentine printable for you and your kiddos to enjoy personalizing - and attaching some fun festive Play-Doh colours!
Step 1: Download the FREE printable below.
Step 2: Print enough sheets for your valentines (there are four cards per 8.5x11 sheet). I recommend using plain cardstock (available at Michaels in their EverydayValue collection). Plain paper will work fine, but will be a bit flimsy.
Step 3: Cut each card along the dotted line.
Step 4: Cut out the round circle (this will be where the Play-Doh will fit into the card).
Step 5: Sign your name (ensure this is done BEFORE you attach the Play-Doh).
Step 6: Slide your Play-Doh through the hole, and voila!


Have fun... and Happy Valentine's Day!

Comments